There was a lot of work put into some of these details and the telling will probably get to be long and tedious for both reader and writer. I apologize, but will assume that if you are here you are engaged in similar behaviors and might find something useful, are fascinated with my boat and want to know everything about her, or are for some reason unknown to both reader and writer unable to stop yourself.
I might as well do a little editorializing here as well. There are those who believe that boats of any vintage should only be repaired using techniques that are time appropriate to when those vessels were built. Those persons have most likely stopped reading already, unless they are gathering information to document my crimes. There are others who believe that keeping these boats on the water is more important than whether there are anachronistic approaches applied. At this point in time I was just trying to make my boat usable. Which is as good an end to justify the means as any I guess.
What I can say in my defense is that part of any process like this is figuring out how to preserve the boat. To this end we have been successful. If Leda is still out sailing well after I no longer climb on deck, then it has been worth the effort. Her hull is still traditional. Her deck is not. Whether or not I am happy with all the decisions made after twenty years is another story completely and something that will eventually be addressed. There will eventually be a section called something like “Would I Do It Again” in which I can discuss the decisions made and the lessons learned. Let’s get back to the work at hand.
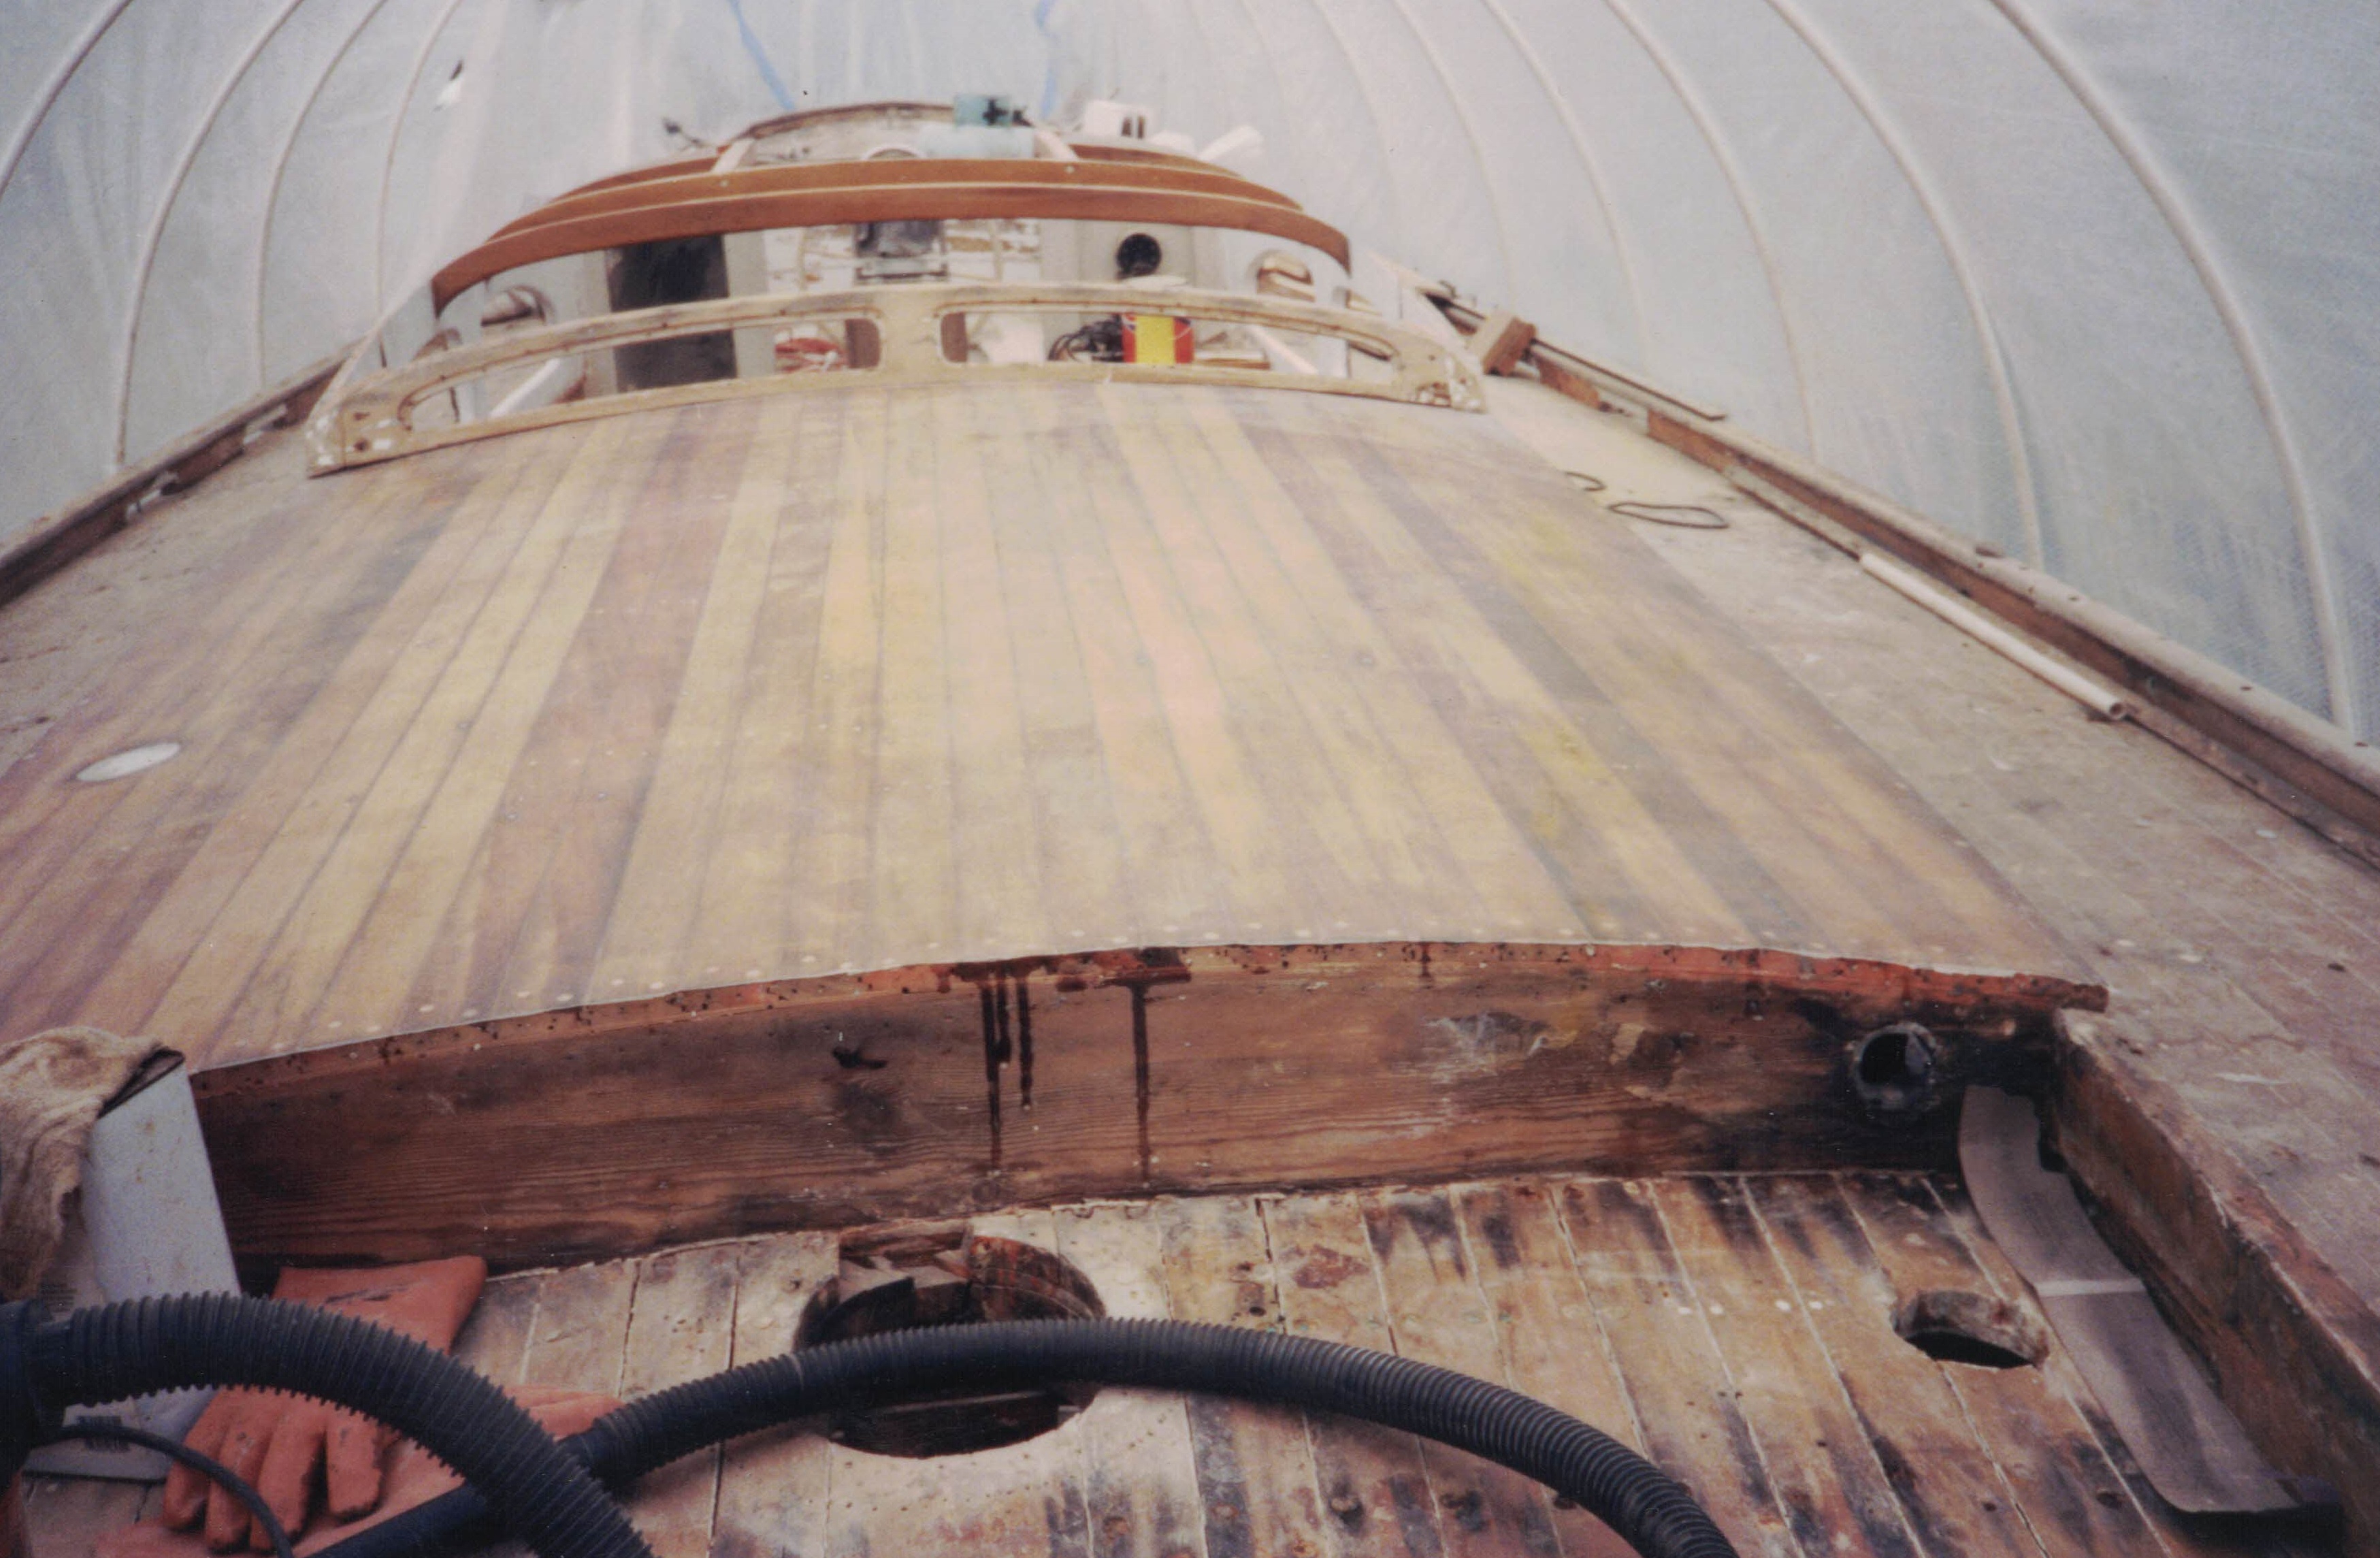
The cabin is constructed of 1-1/2-inch Douglas fir on edge to form the coamings for both the cabin and the cockpit. It has large corner posts and is all thru-bolted down through the carlin. The roof beams are kauri, cut with a nice arc in them, with dovetail joints into the coamings. Over this was laid 1/4-inch plywood with 3/4″ pine tongue-in-groove over the top. The pine was fastened with copper nails. This makes for good sturdy construction but the railings on the roof for the companionway hatch had been leaking for some time and the plywood in this area had delaminated.

The photo above is confusing to look at without some orientation. We are looking at the plywood on the inside of the coach roof over the galley. The two roof beams visible in the photo look ugly here but that is because I had decided to strip the paint off them to show off the kauri. I thought then and do now that having some bright kauri showing inside the cabin is one of the treats of having a boat built of it. So I had been after these beams with my heat gun stripping paint while trying to decide what to do about that coach roof. What you see there is the red lead that those beams were painted with as primer.

As for fixing the coach roof, I suppose I was stripping paint off those beams while trying to convince myself to take it apart. Well there really is no good way to fix this issue without taking the roof apart. The pine over the top of this plywood was in good shape. The roof has a compound curve in it. The individual pieces were cut into tongue and groove and fitted to form the compound curve. Really very nice work. I didn’t want to just hack this apart with a saw. It would have been fast coming apart but then I would have to manufacture the entire roof again. So I came up with a plan to salvage the pieces.
What I decided to do was to take some brake line from the auto store and make what was essentially a plug cutter. I took a piece (0.25-inch outside diameter) about two-inches long. On one end I filed in deep and narrow vees so that I had two large teeth on opposing sides. I could chuck it up in my drill and run it down over the copper nails until I had cut through the pine. The pine was soft, the copper was soft, so these cutters lasted pretty well. But they were also fast and cheap to make. After cutting around the nails through the entire thickness of pine I just lifted it off. It left 1/4-inch hole in the pine that was later filled with thickened epoxy. Once I got started on this it actually went pretty fast. The nails were pulled and everything cleaned up. The pieces of pine numbered for reassembly.
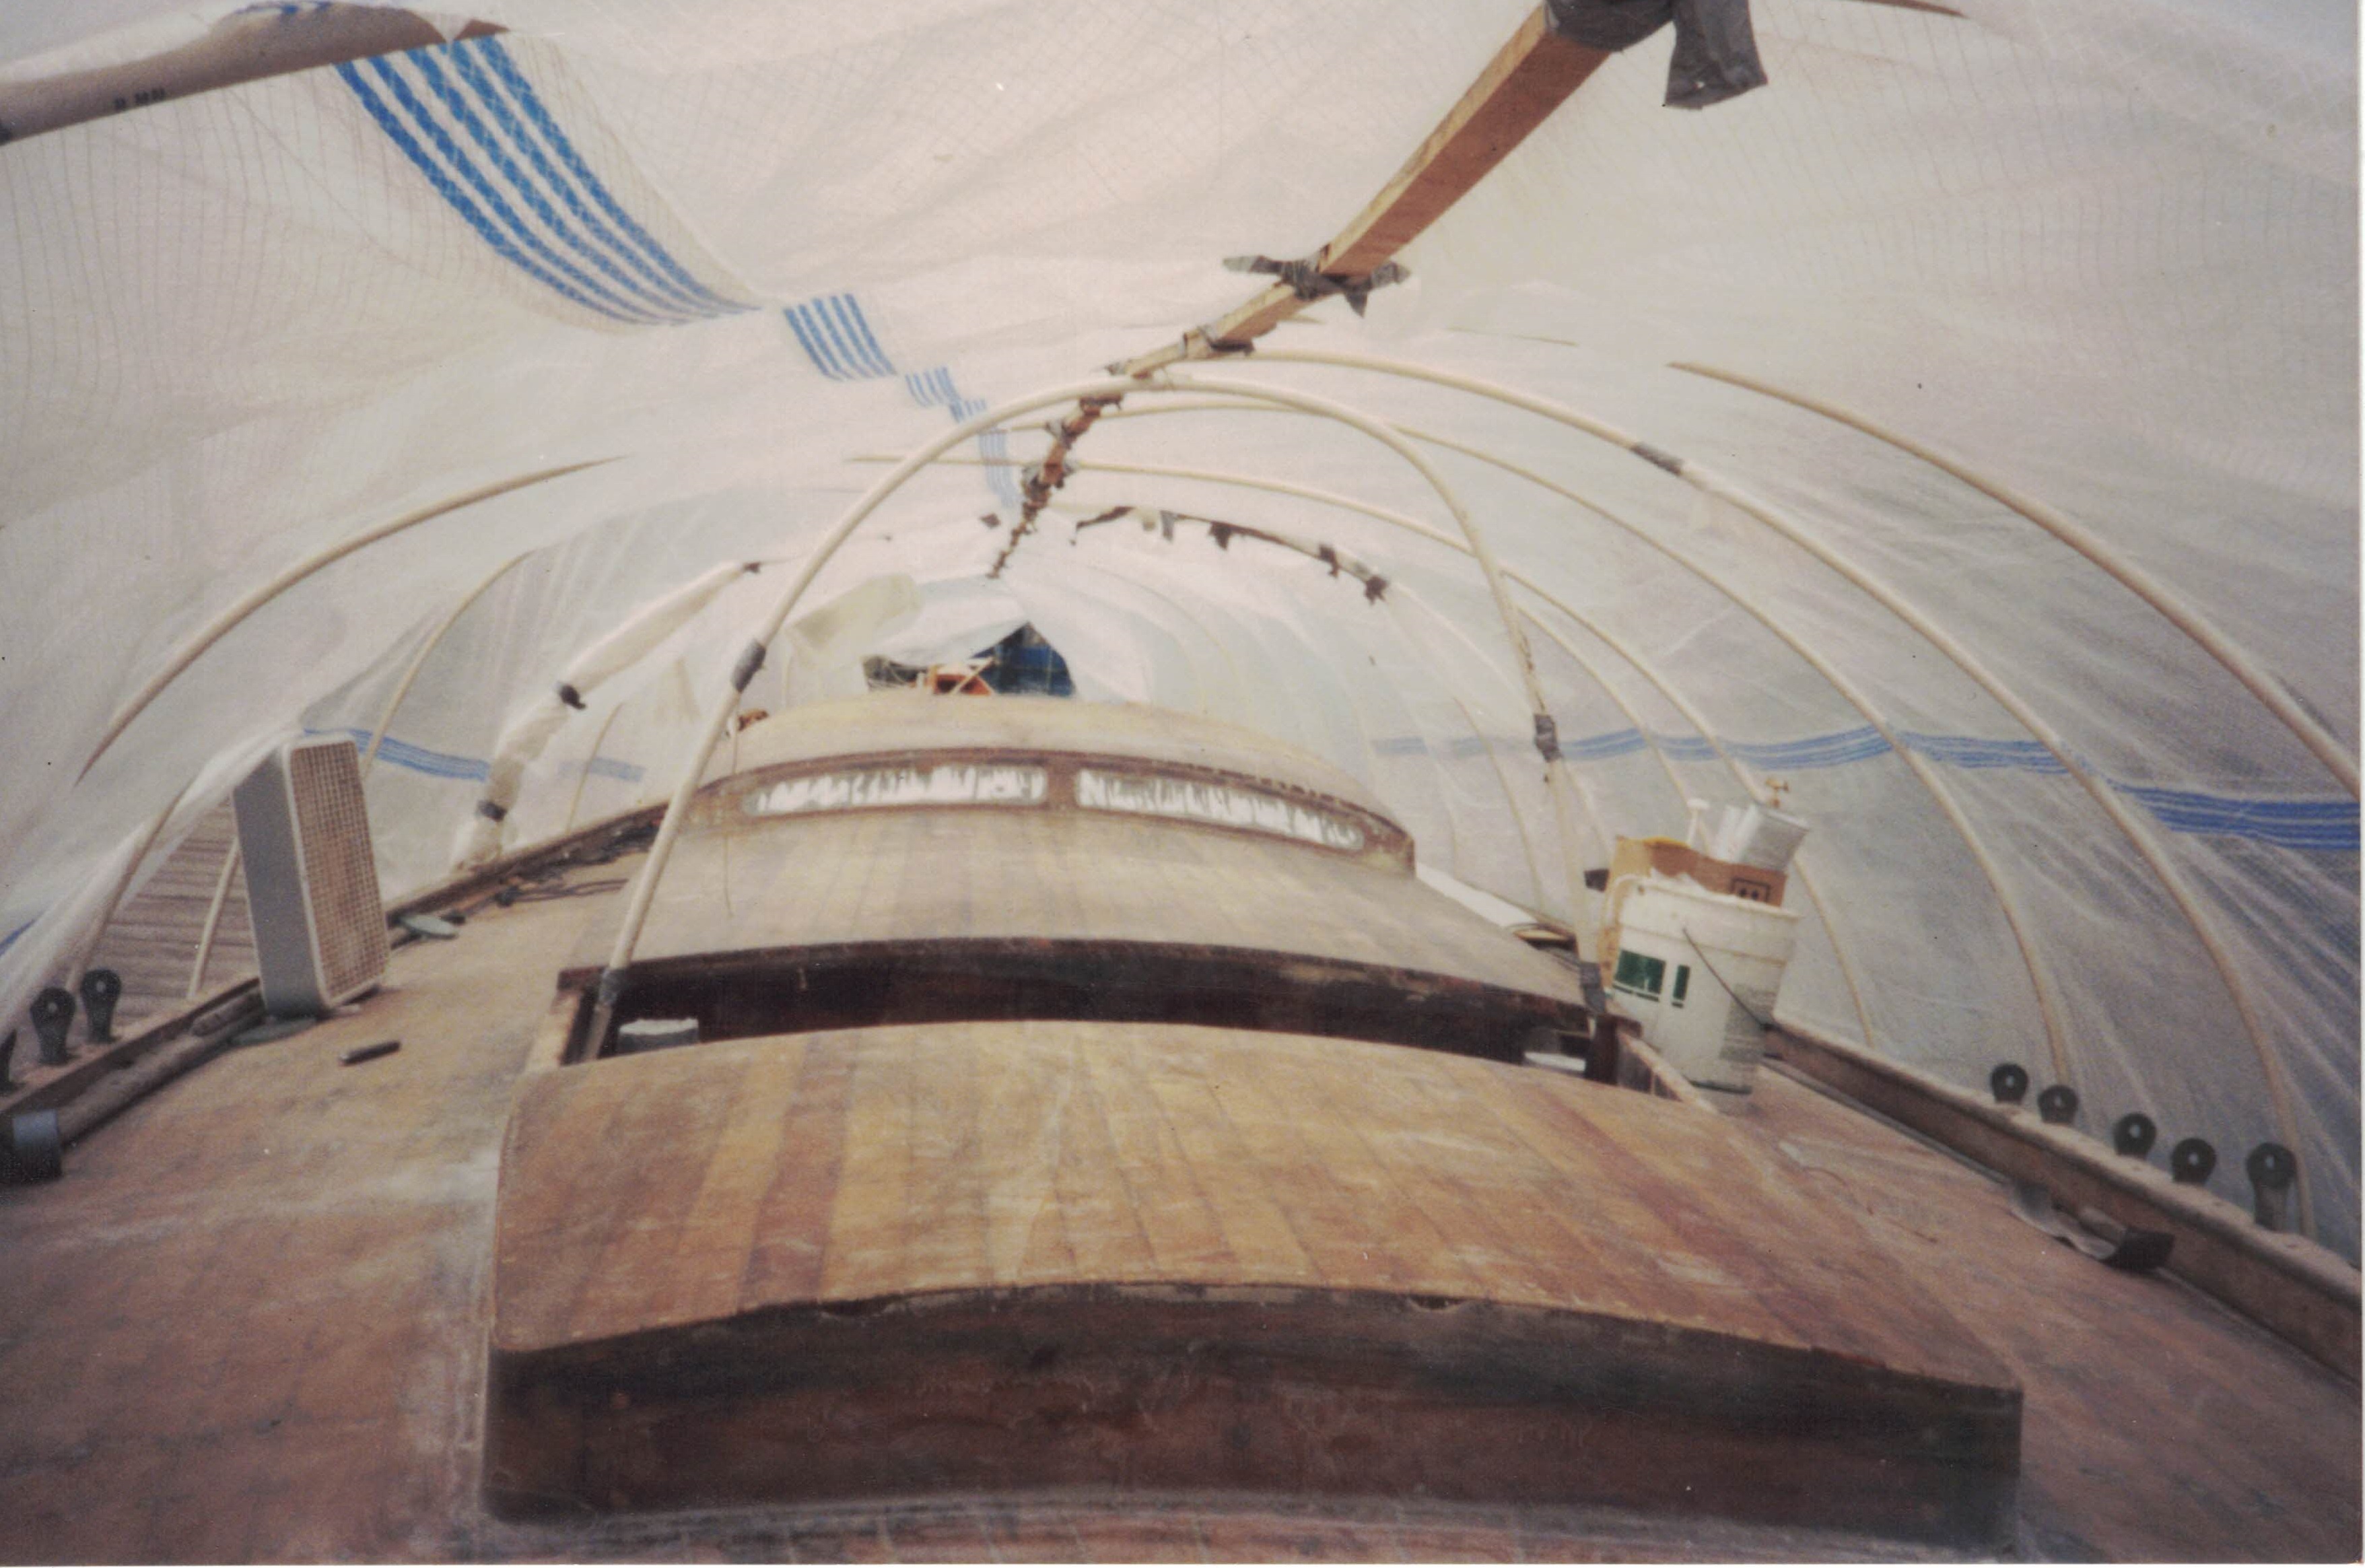
I might mention here that there were lots of things going on simultaneously. If the weather was warm enough to put down epoxy, I did. If it wasn’t I worked on something else. I basically lived on board. I was working at least 40-hours a week at my job and spending easily that many hours a week working on the boat, summer, winter, rain, shine or snow. I just had to find a project that was weather appropriate. That was easy from the standpoint of finding something to work on. If I got stuck I cleaned up. During the winter I used lights and a propane space heater. In the summer I would roll the edge of the plastic up and get a box fan going. But because of this establishing a timeline of events is impossible. There were only some steps that had to come before others. You can see in the photo below that the forward part of the main cabin has cloth down over the pine tongue-in-groove. This was so that the forward end of the dog house (the windshield) could be put back in place so that the aft coach roof could be reassembled.
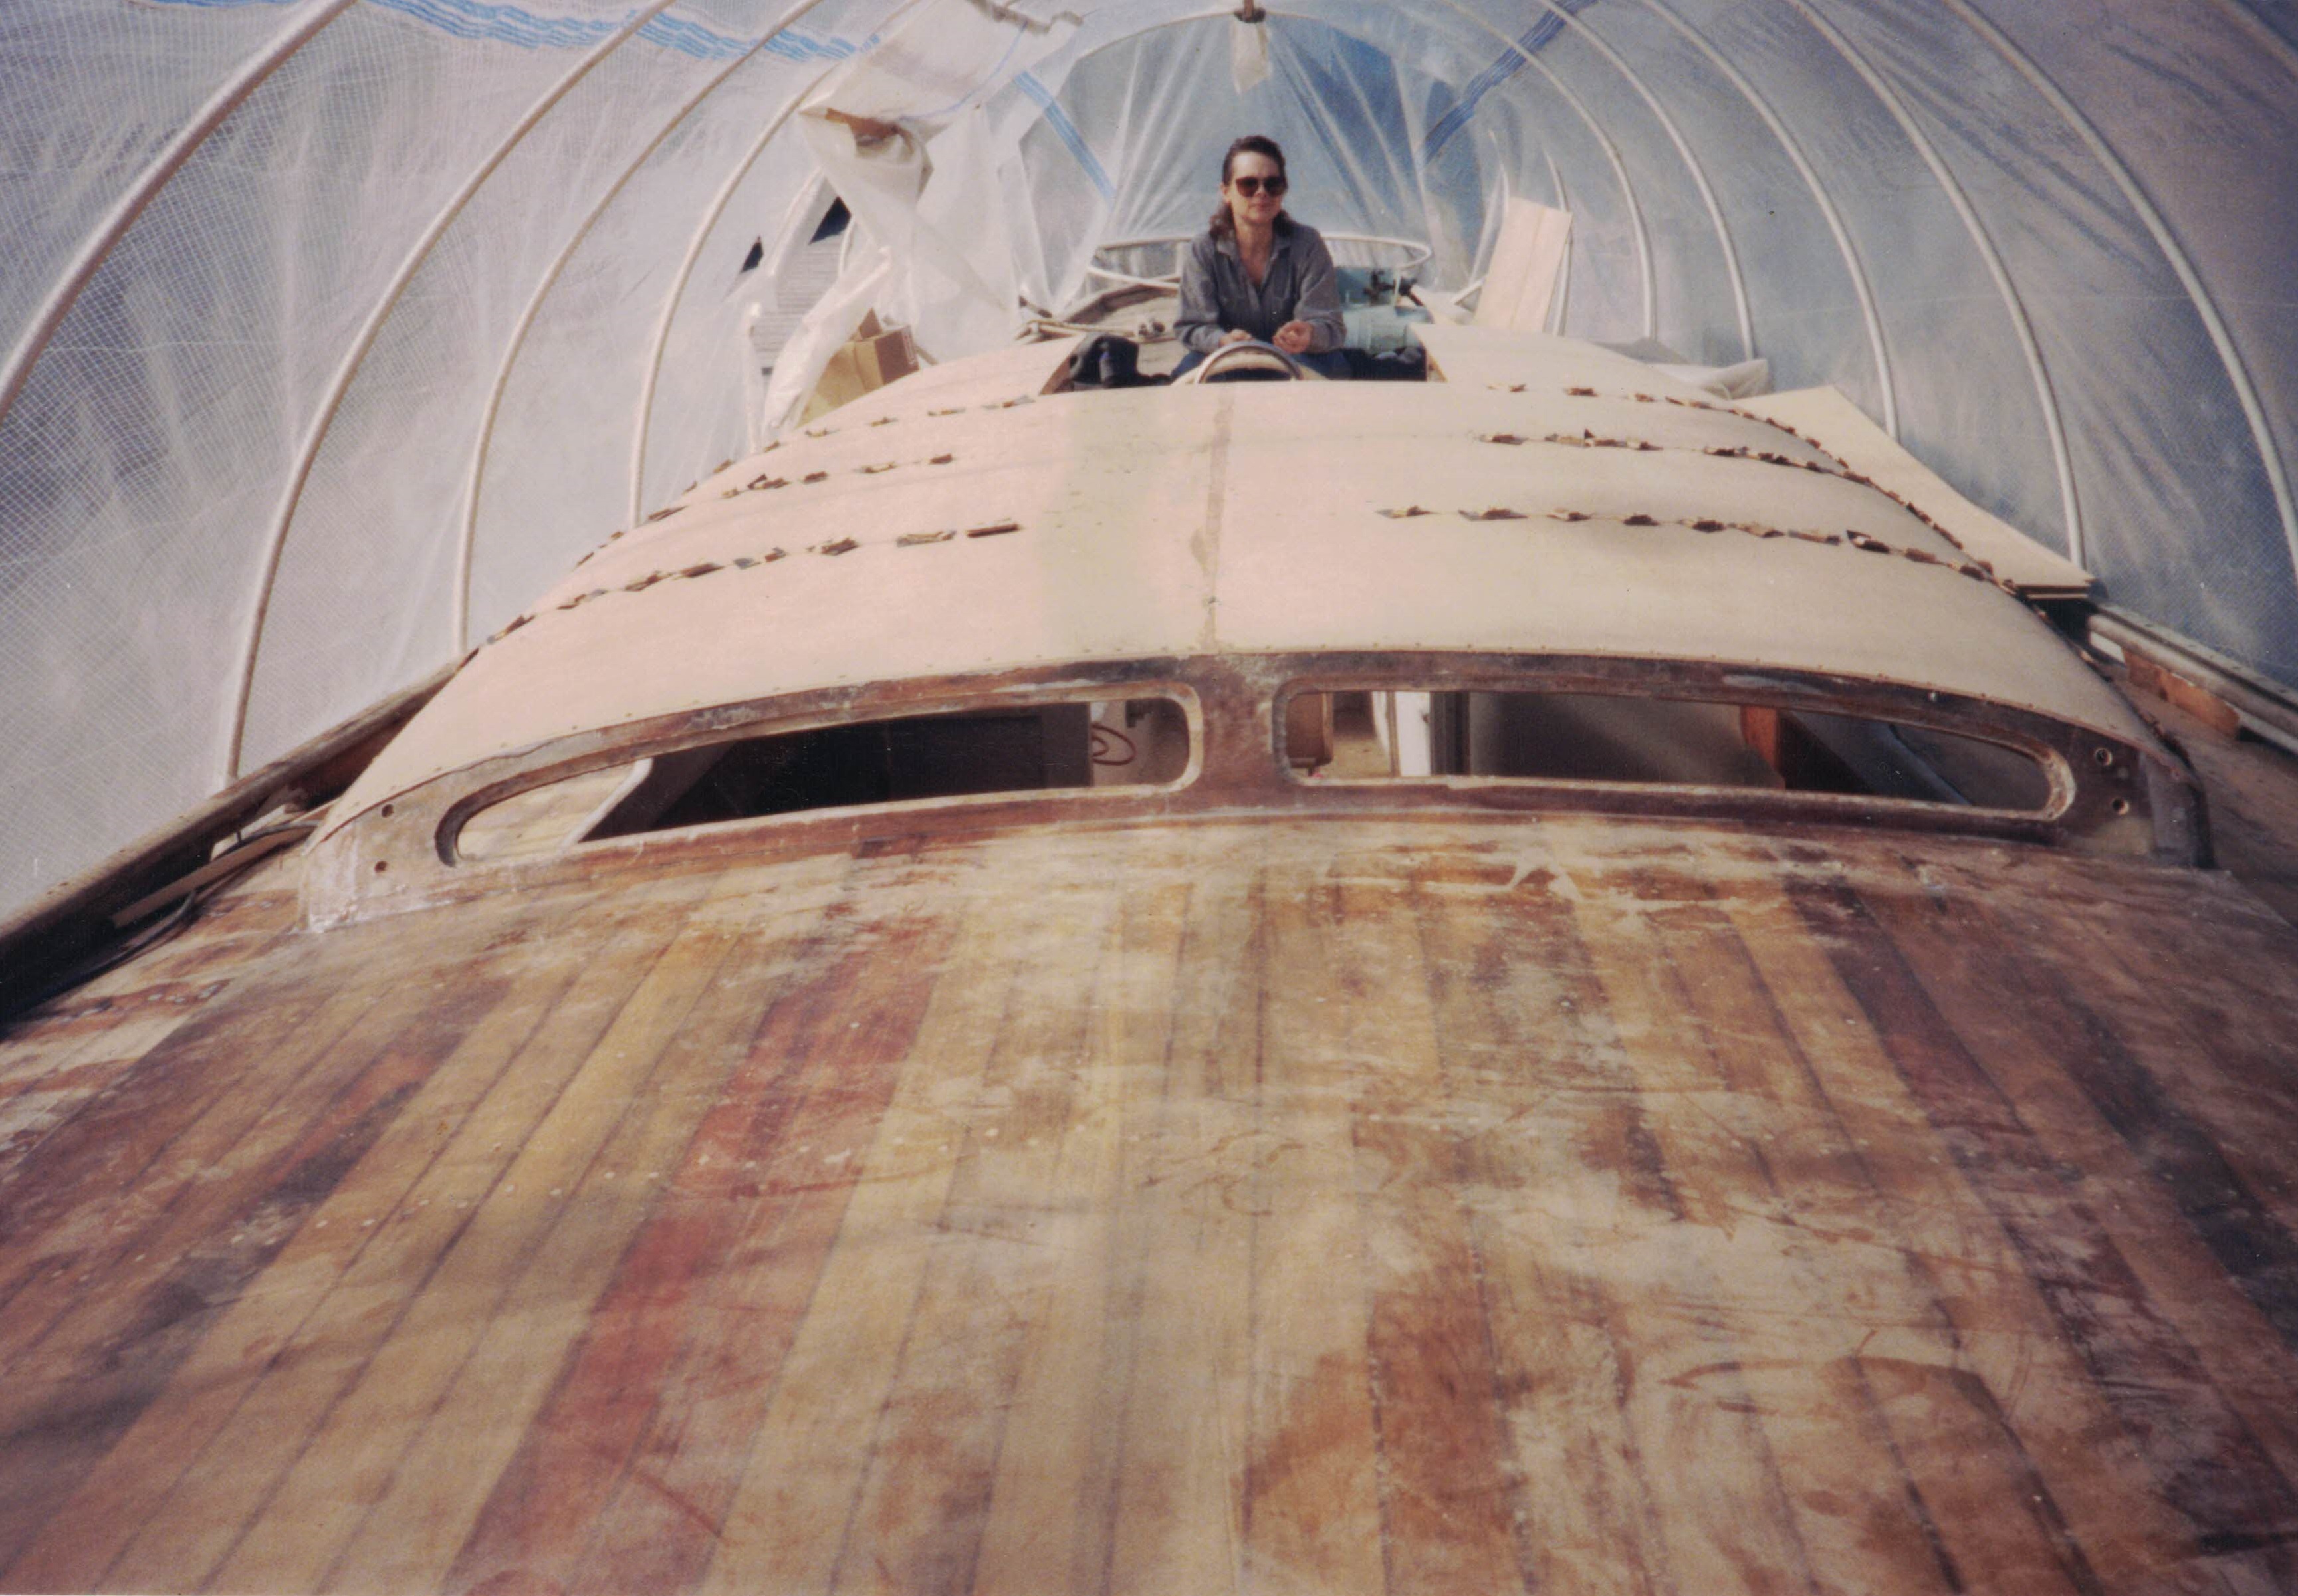
Leda has three different sections of “roof”. Depending upon who you talk to these areas could have different names. The area around her mast is what I call a bridge deck. The deck extends clear across. (Visible in the photo above.) There are however still coamings in this area so that the deck just forward of the mast has a “well”. It is a great spot when working at the mast to brace your feet, drop winch handles, halyard tailings and even mooring lines. Additionally this makes for a strong deck area. This bridge deck area is also the section of the boat that puts the most dents in your head. It does not have full standing room. There is full standing room forward of it in the main berth. There is full standing room aft of it in the salon, and there is full standing room in the galley despite the floor being raised because of the “dog house”.
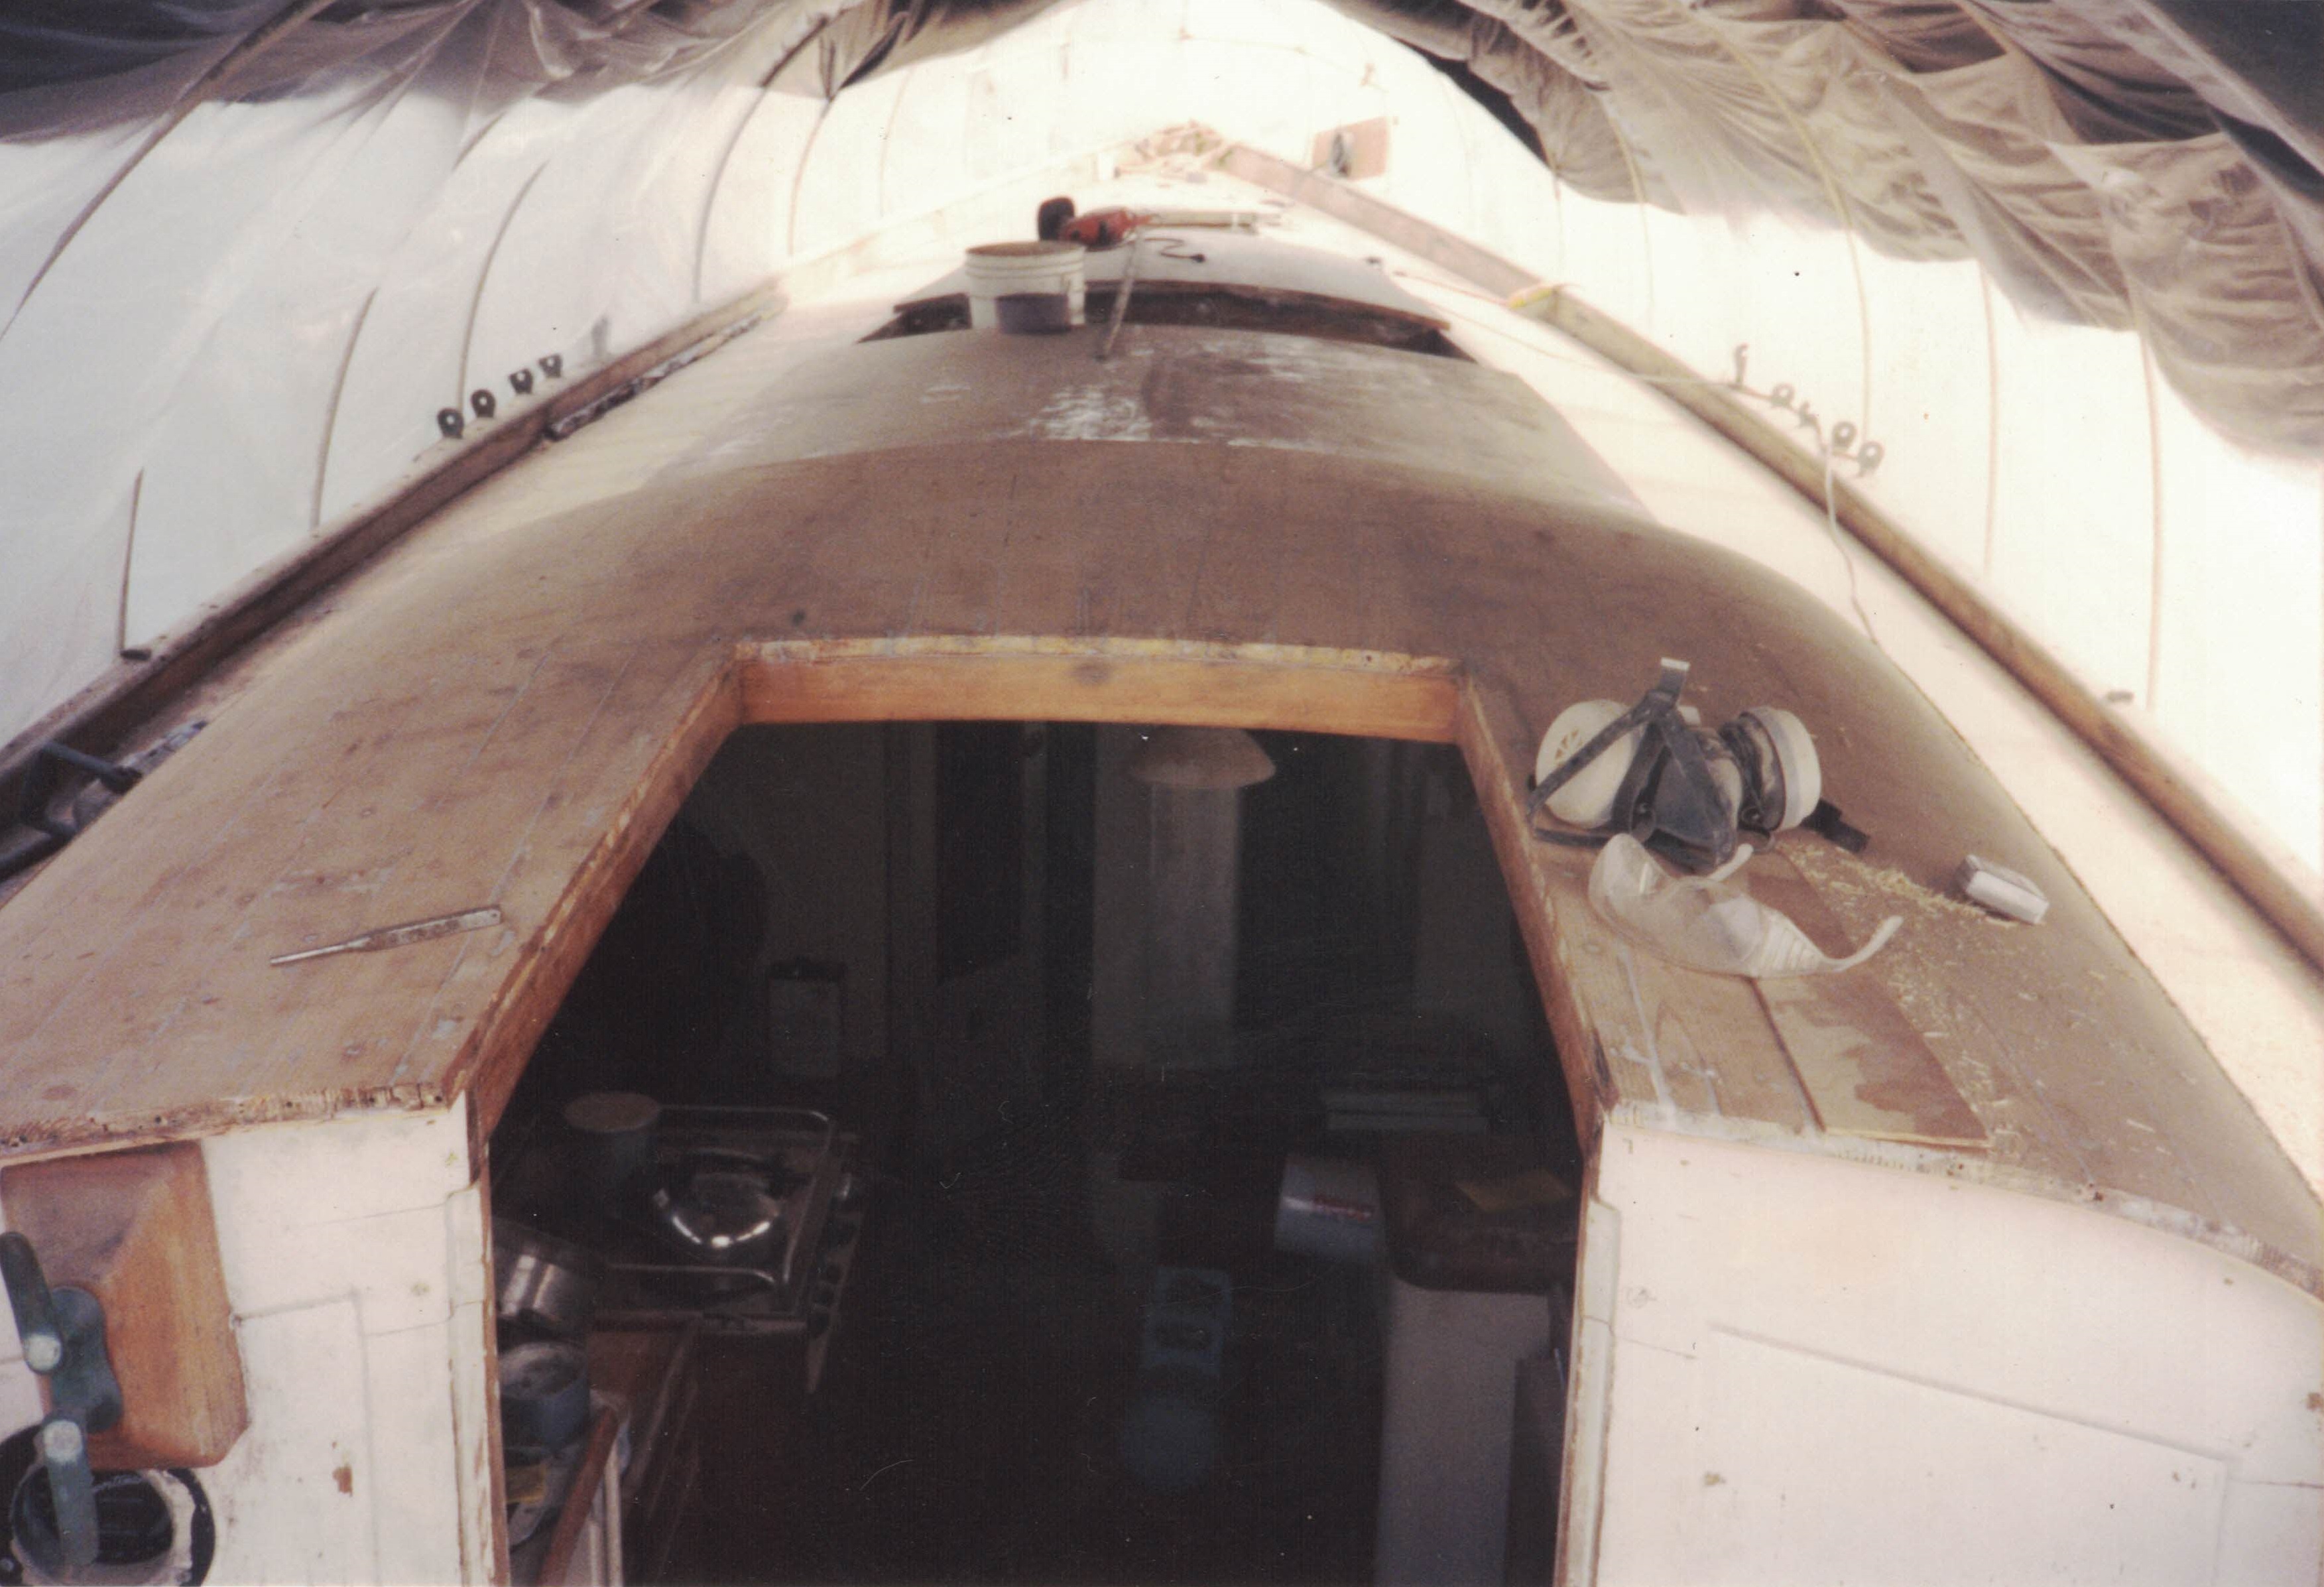
To rebuild the dog house roof, I laid 4mm okume plywood over the beams, then using the salvaged pine, I treated the structure like I was cold molding it, gluing it all together with West System epoxy and nailing it again with copper nails. To get the plywood to form to the compound curve, it was cut parallel to the center of the beams about a third up each side, essentially formed like a pleate with the overlap cut away. This way the seam was hidden by the beam. I could have in retrospect just cold-molded this roof structure. Whether it would have been faster or not I don’t know. But part of this whole process was learning the techniques as I went and gaining the confidence to do it. Admitedly I also didn’t want to go out and buy materials if the stuff I already had at hand was good for the purpose.
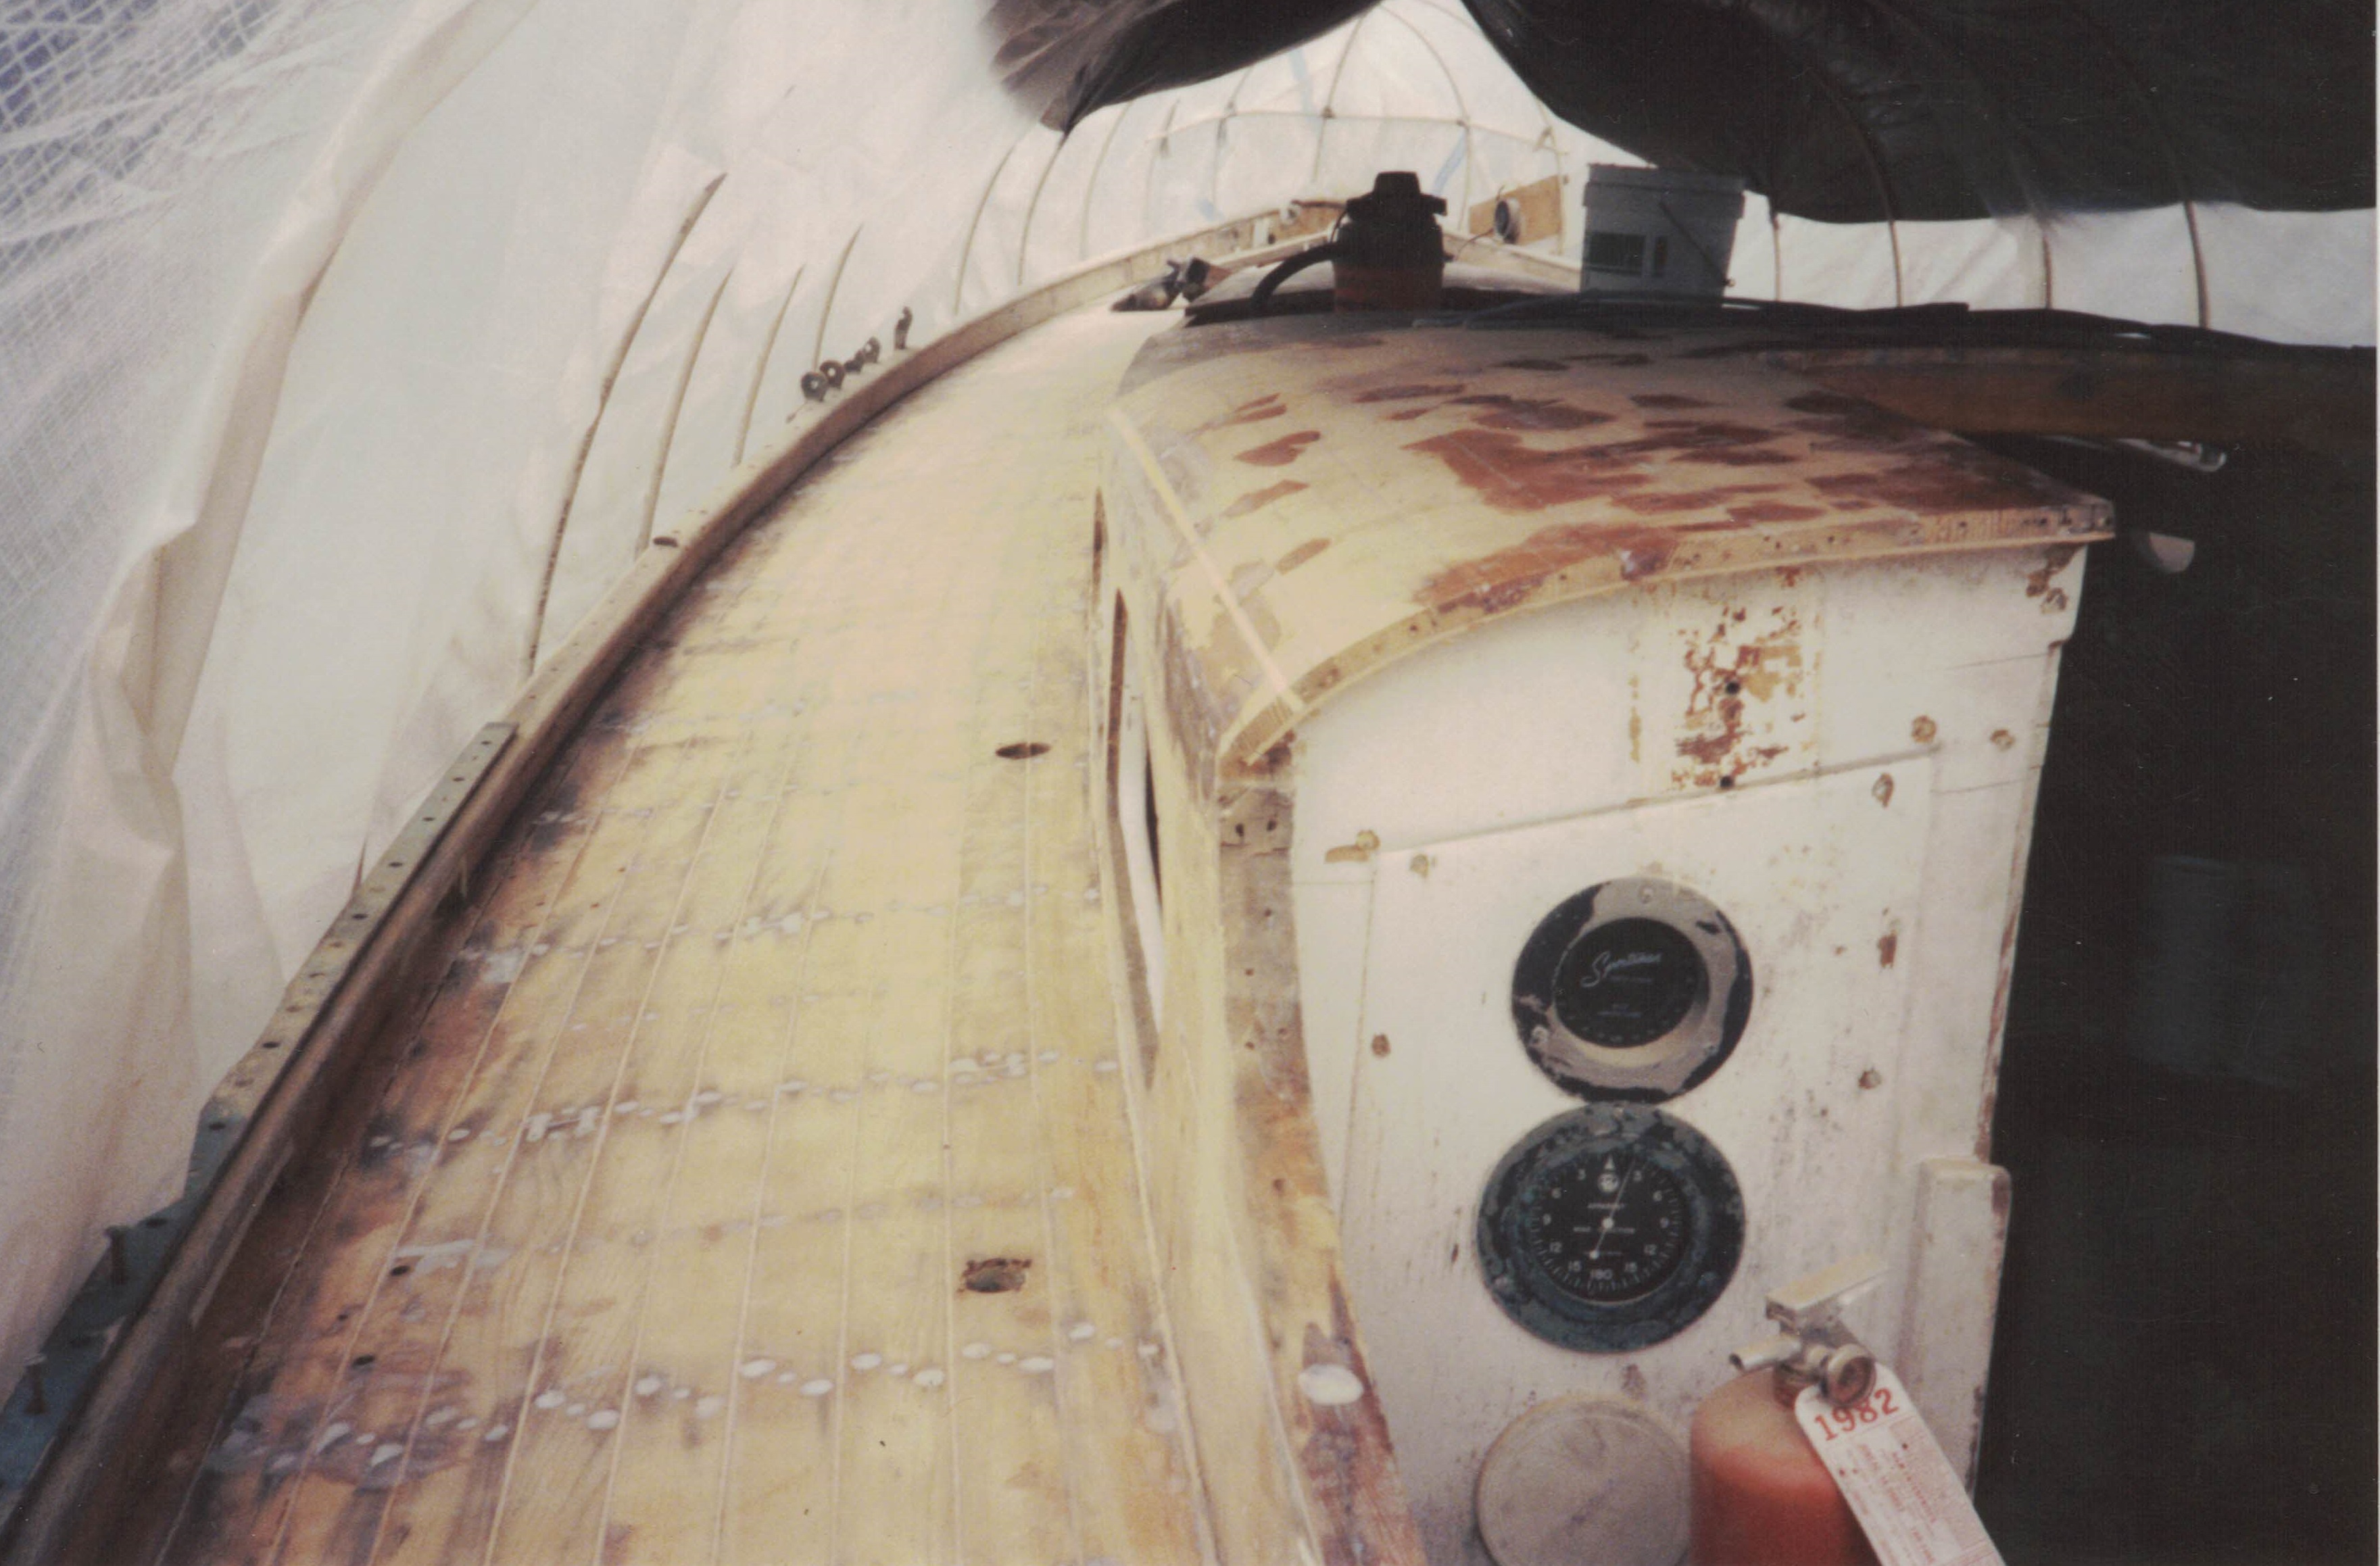
The process here was to cover the cabin tops with cloth. I used heavy fiberglass cloth, easily 12-ounce or better. It was nice quality stuff and it was free, which was a major factor in my decision to use it. Then the deck area out to the toe rail was covered. The cabin sides were covered. This left a seam at the top and bottom edge of the coaming. So the edge of the cabin top was cleaned up and rounded over and the interface between the deck and the cabin side was given a cove of epoxy. So then the cloth was laid over the entire cabin top and continuously down the side and out overlapping the deck. This way the cloth was double on the cabin top, and ran out on to the deck before there was a seam. In retrospect this was overkill but it was what I did. Eventually the toe rails came off and the cloth run out to the edge.
There isn’t much to say about saturating cloth with epoxy. You wet out the wood or seal it first and sand it after it kicks but you don’t want the wood to suck the epoxy out of your cloth. Then you make sure the cloth is well wetted and then you use a plastic squeegee to smooth it all out. I have my favorite tools and methods which everyone will develop if they do a project this size. I like to mix my epoxy in ziplock baggies, so I can mix it by squishing it around. Then I clip the corner out of the bag and start squirting it on the deck, or project. The only real trick is to not mix more than you can use before it kicks.
Next: The Mast
Previous: The Deck is Cleared